Before & After: Modern and Affordable Laundry Room Makeover

This project was a labor of love! It was originally going to be my submission for the 2020 One Room Challenge, where people transform one room in their homes over the course of 6 weeks. However, we got started on it in April 2020 right as COVID hit, and the ORC got postponed, but I couldn’t wait on completing this project. So James and I busted it out over about two weeks, working in the evenings after the kids had gone to bed.
BEFORE
Let’s just get this out of the way - I know the before isn’t bad!! However, it definitely lacked personality. Our home was all builder-grade (or basic and boring, if you don’t know what that term means). I had hung up the IKEA floating shelf right when we moved in just to have something on the wall, but otherwise didn’t do anything until we started this makeover. The room also had a boob light and a textured ceiling that was really obvious since the room showed a lot of shadows.
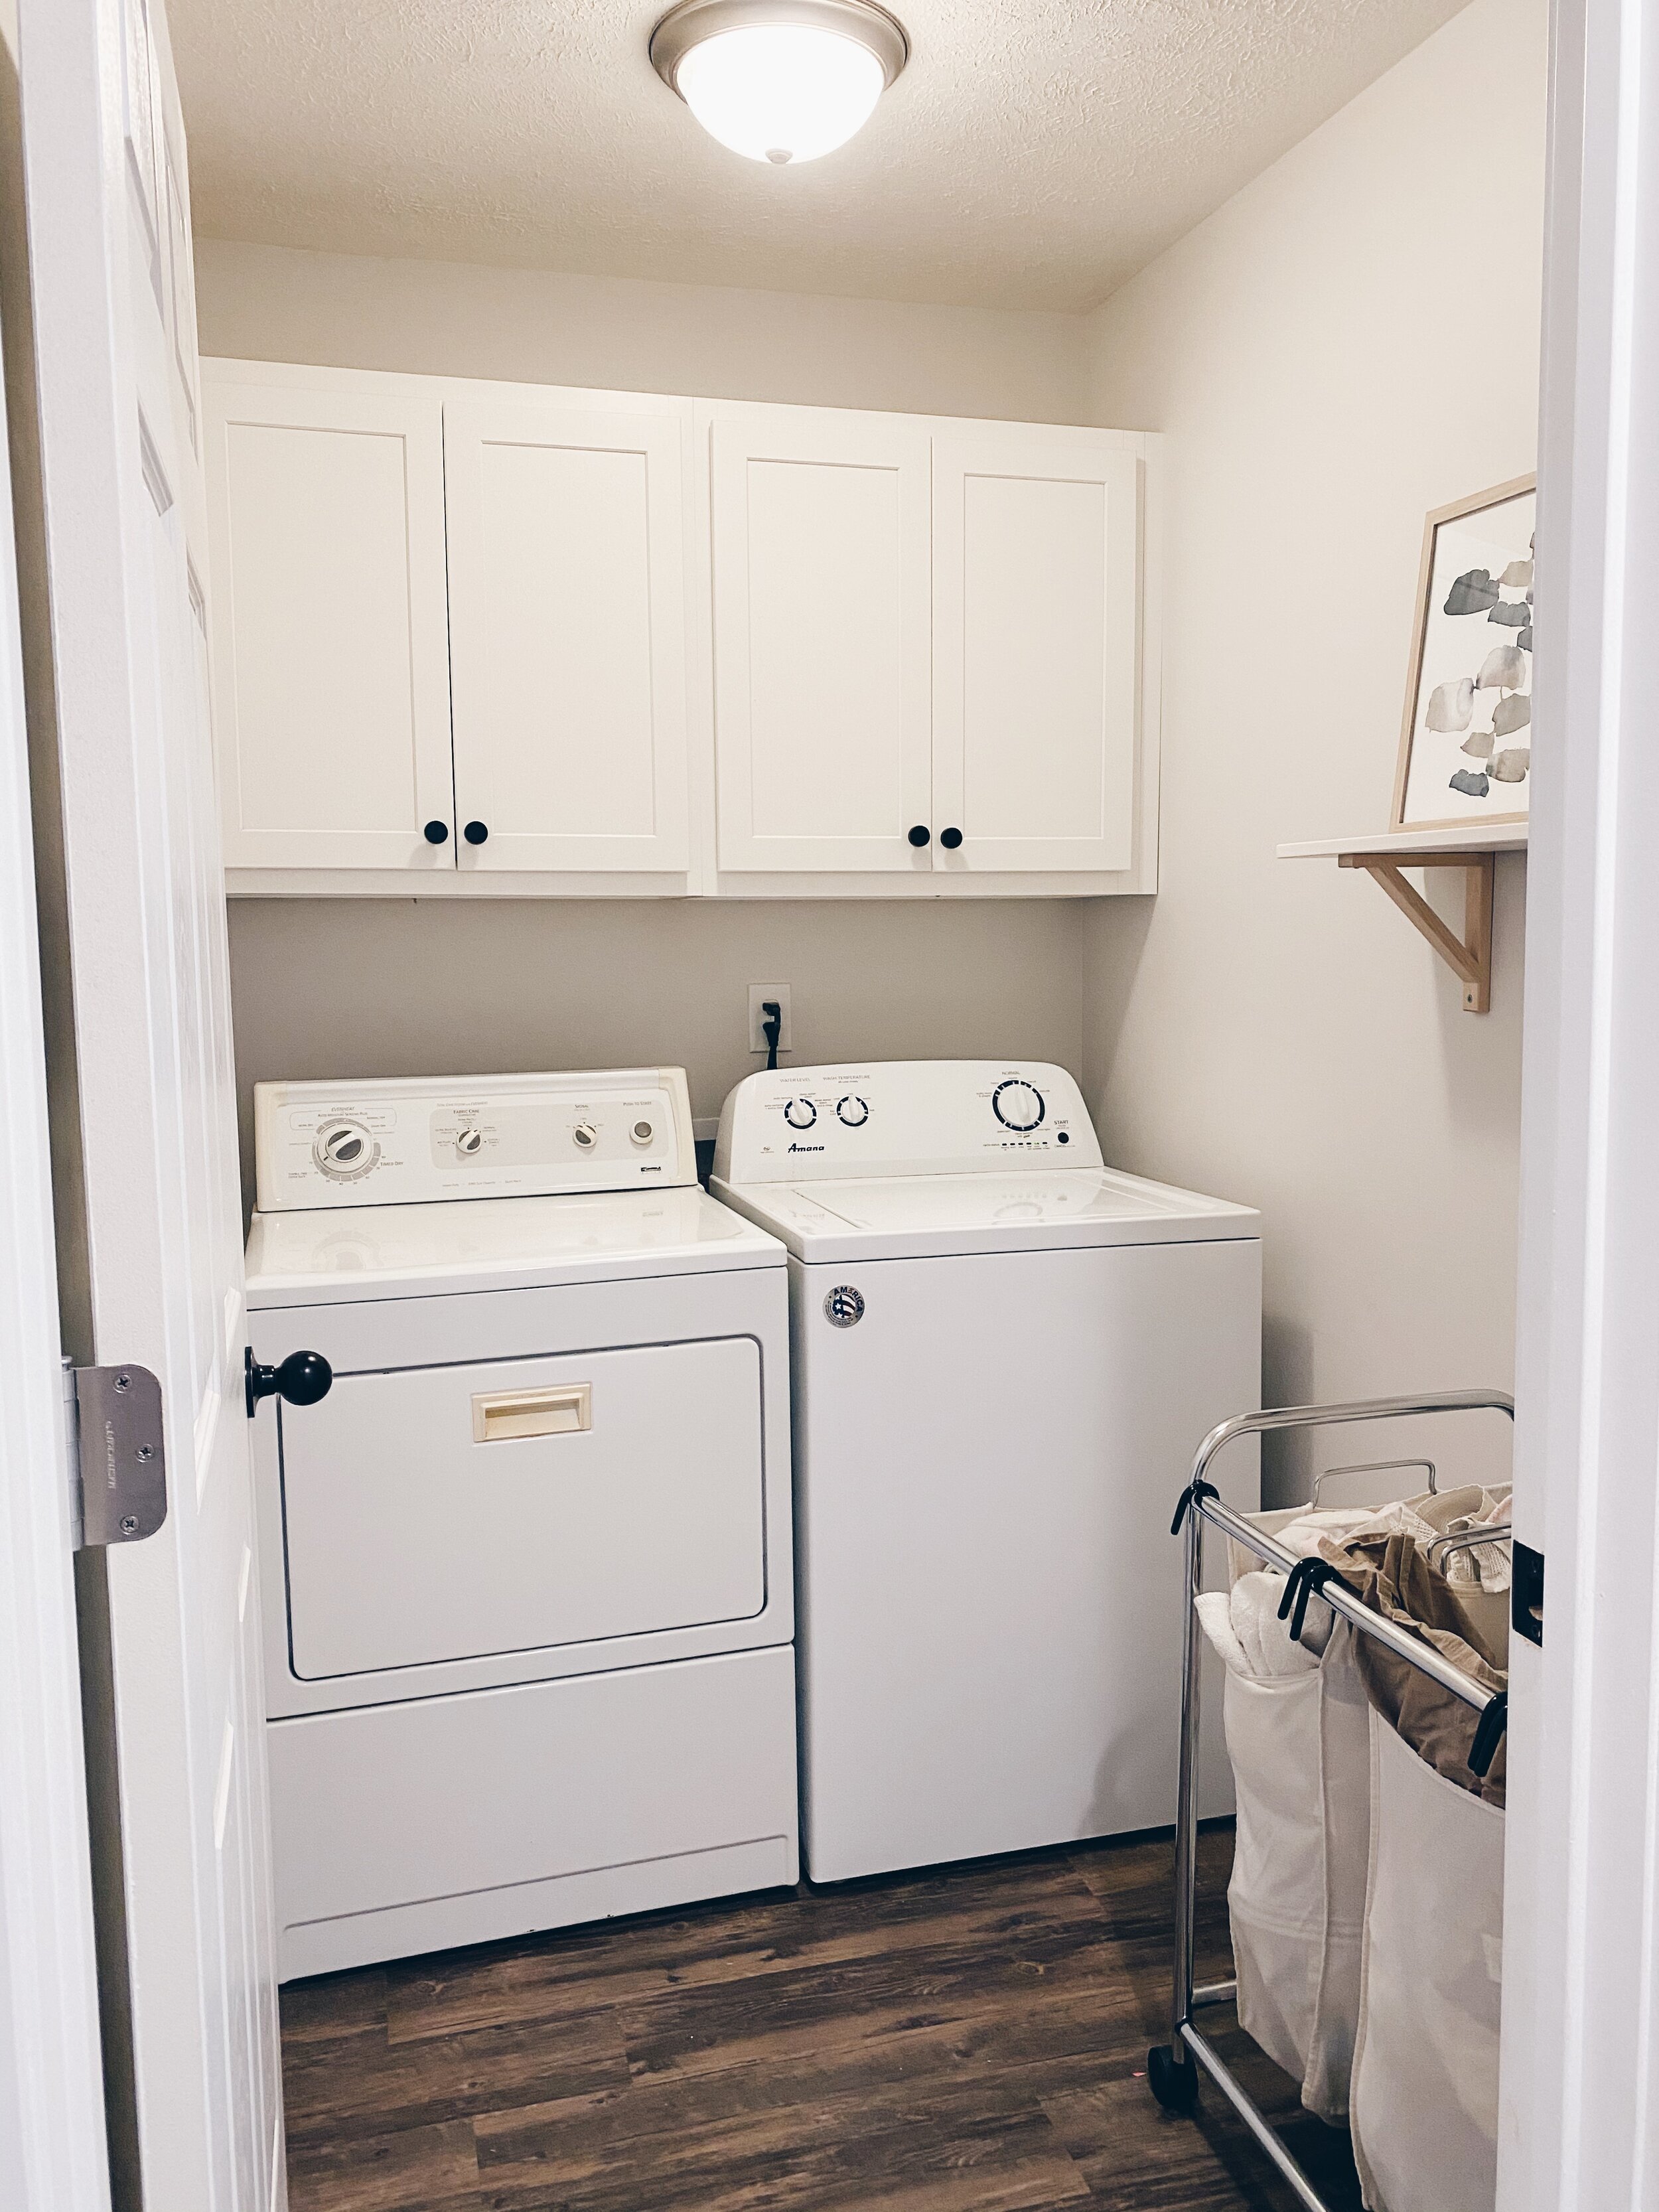
My biggest pain point with the room, however, was the space above the cabinets. I’m only 5’3” and I couldn’t imagine putting baskets or something up there. I’d rather have open storage at the bottom for quick access and then put things I don’t need very often in the top of the cabinets, behind the doors.
WHAT WE UPDATED / CHANGED
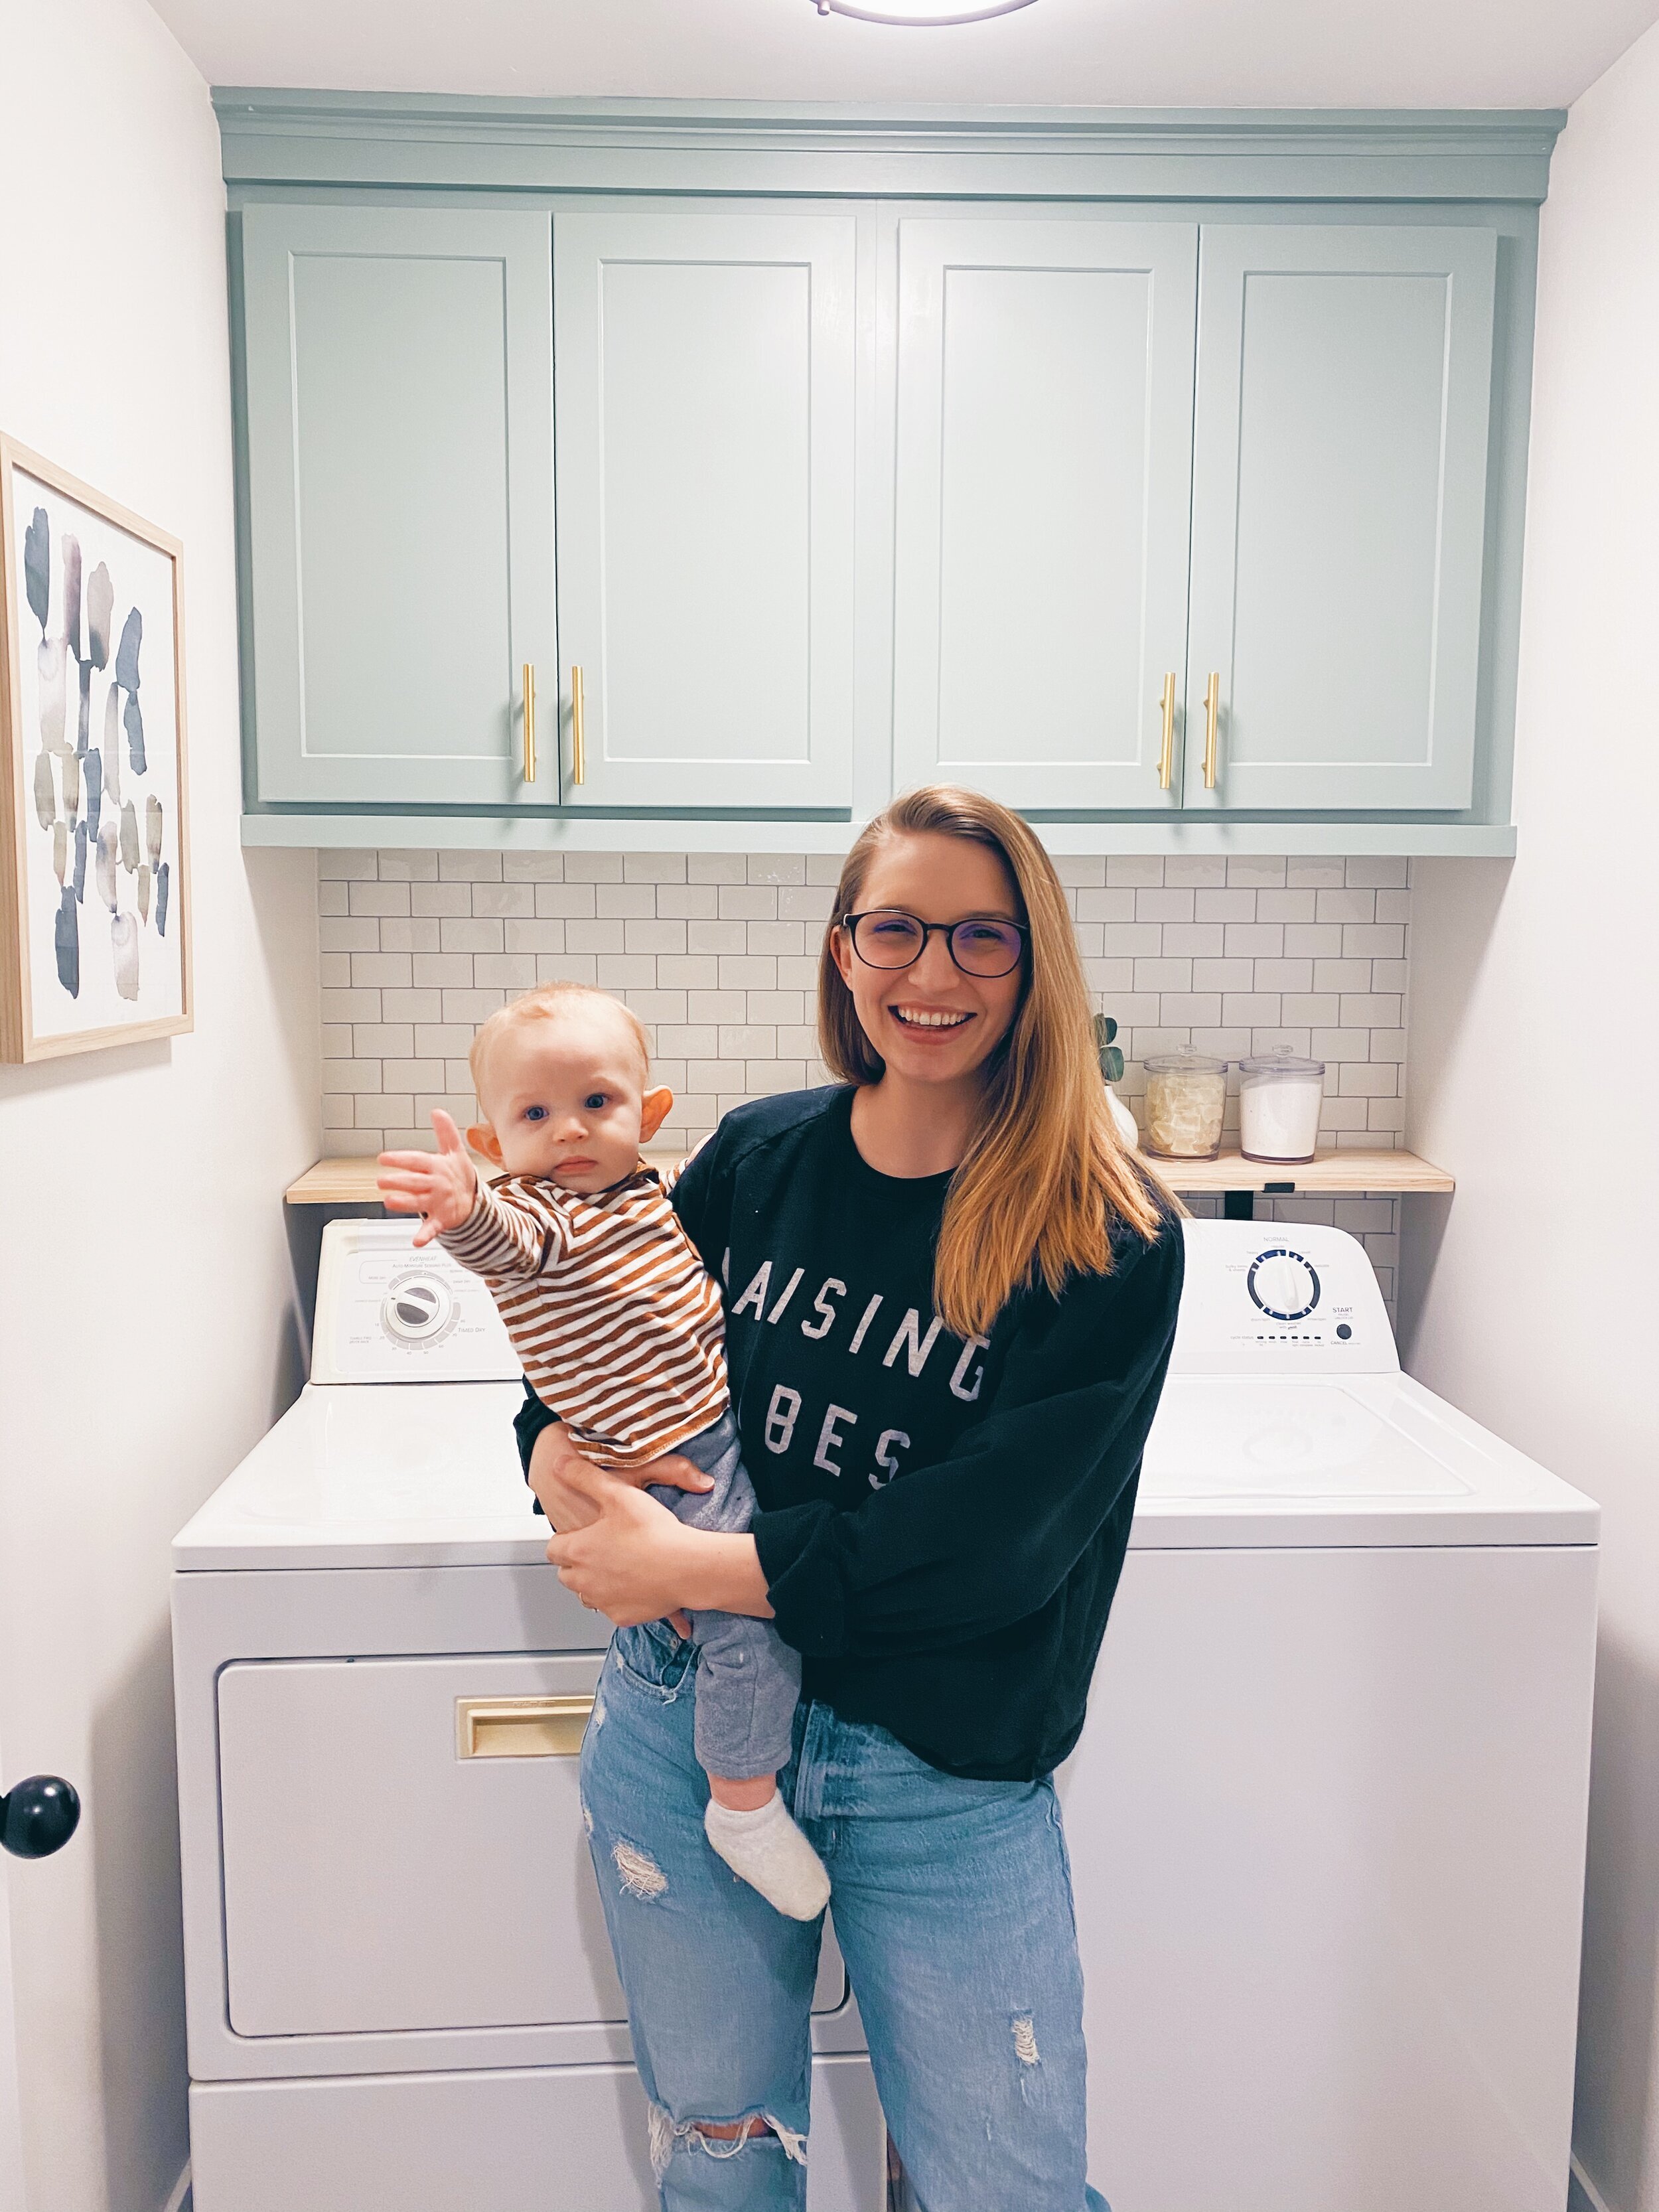
The ceiling and the light - We sprayed water on the textured ceiling with a pump sprayer and scraped off all the texture. We then added some more joint compound to smooth everything out and painted the ceiling a very flat, bright white. That’s what my local hardware store recommended since the matte wouldn’t show any glare.
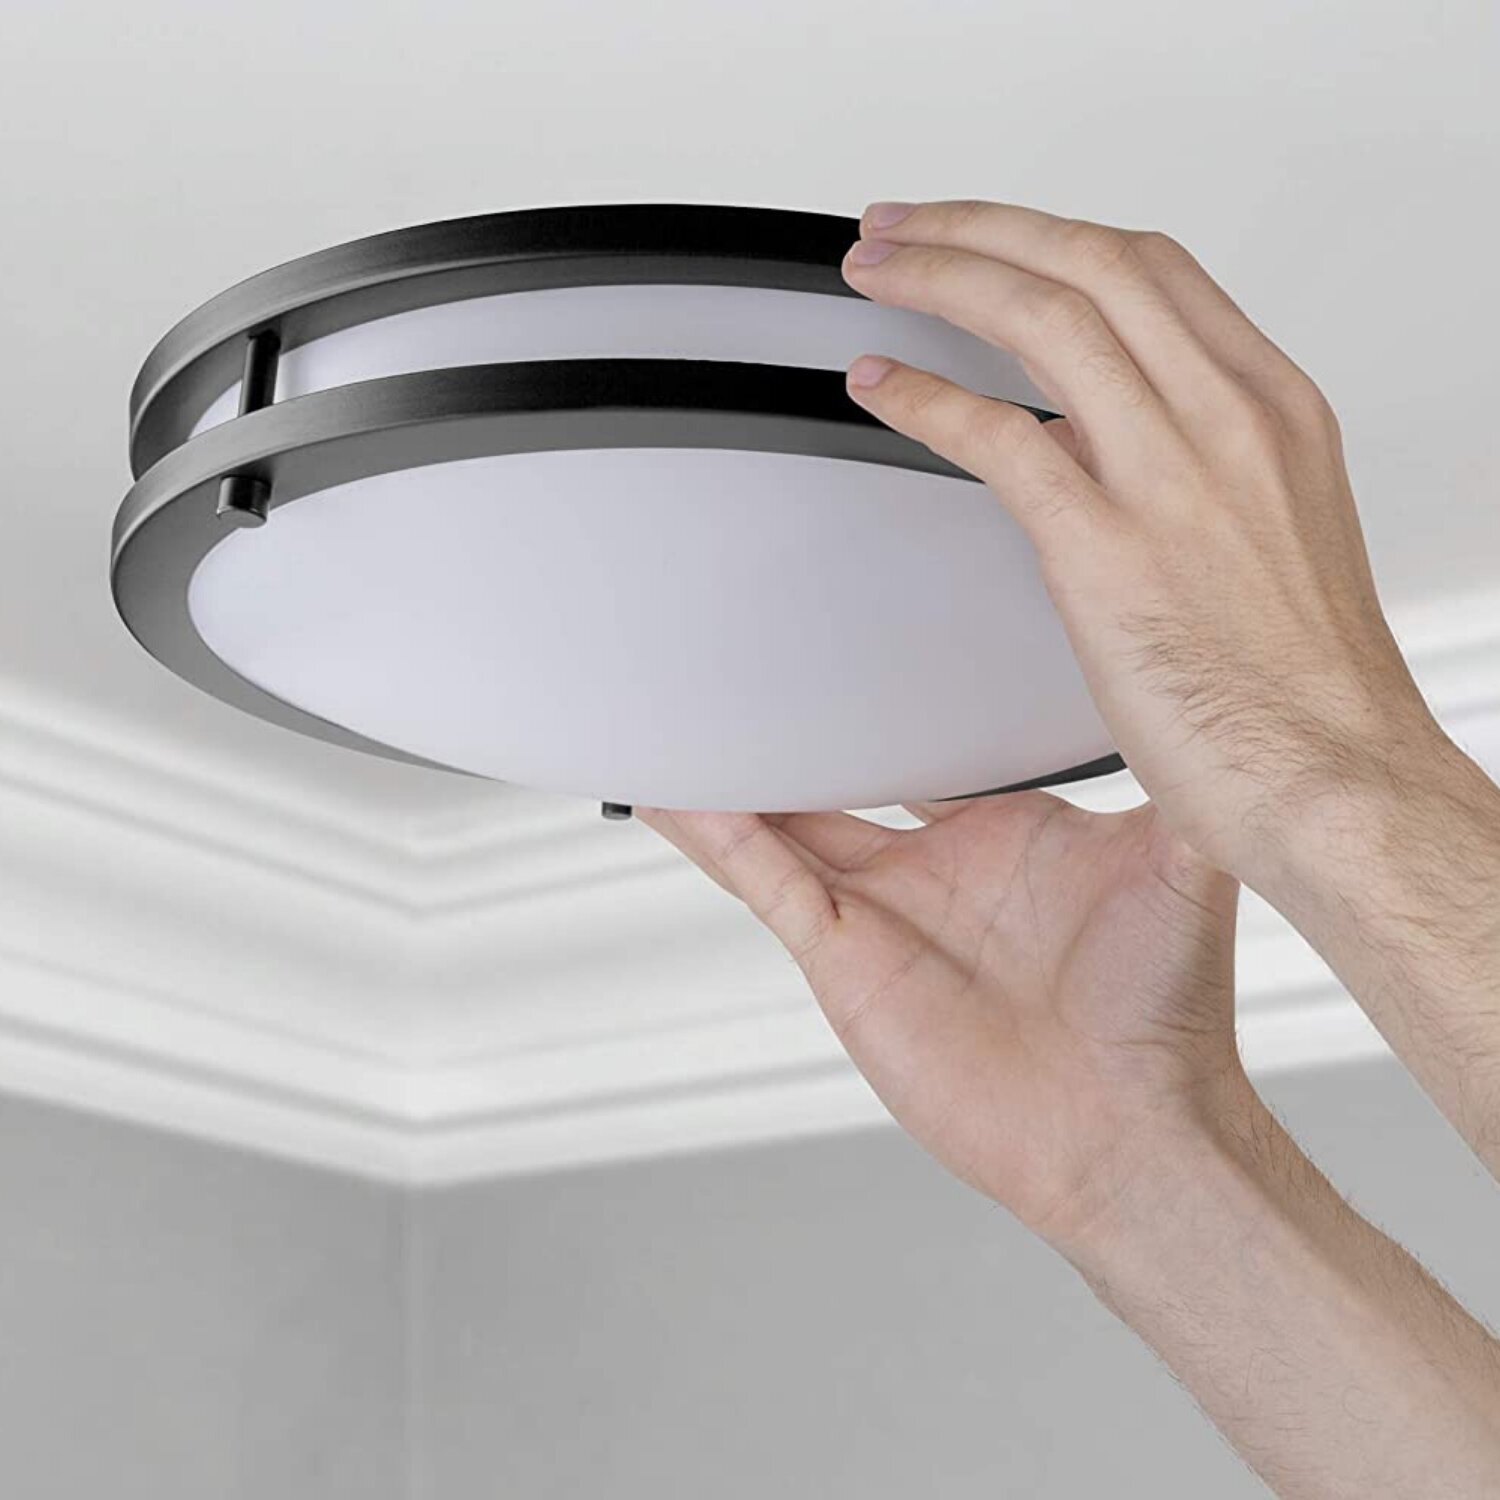
We also removed the boob light and replaced it with a modern and minimal flush mount LED light.

Scraping off the textured ceiling.
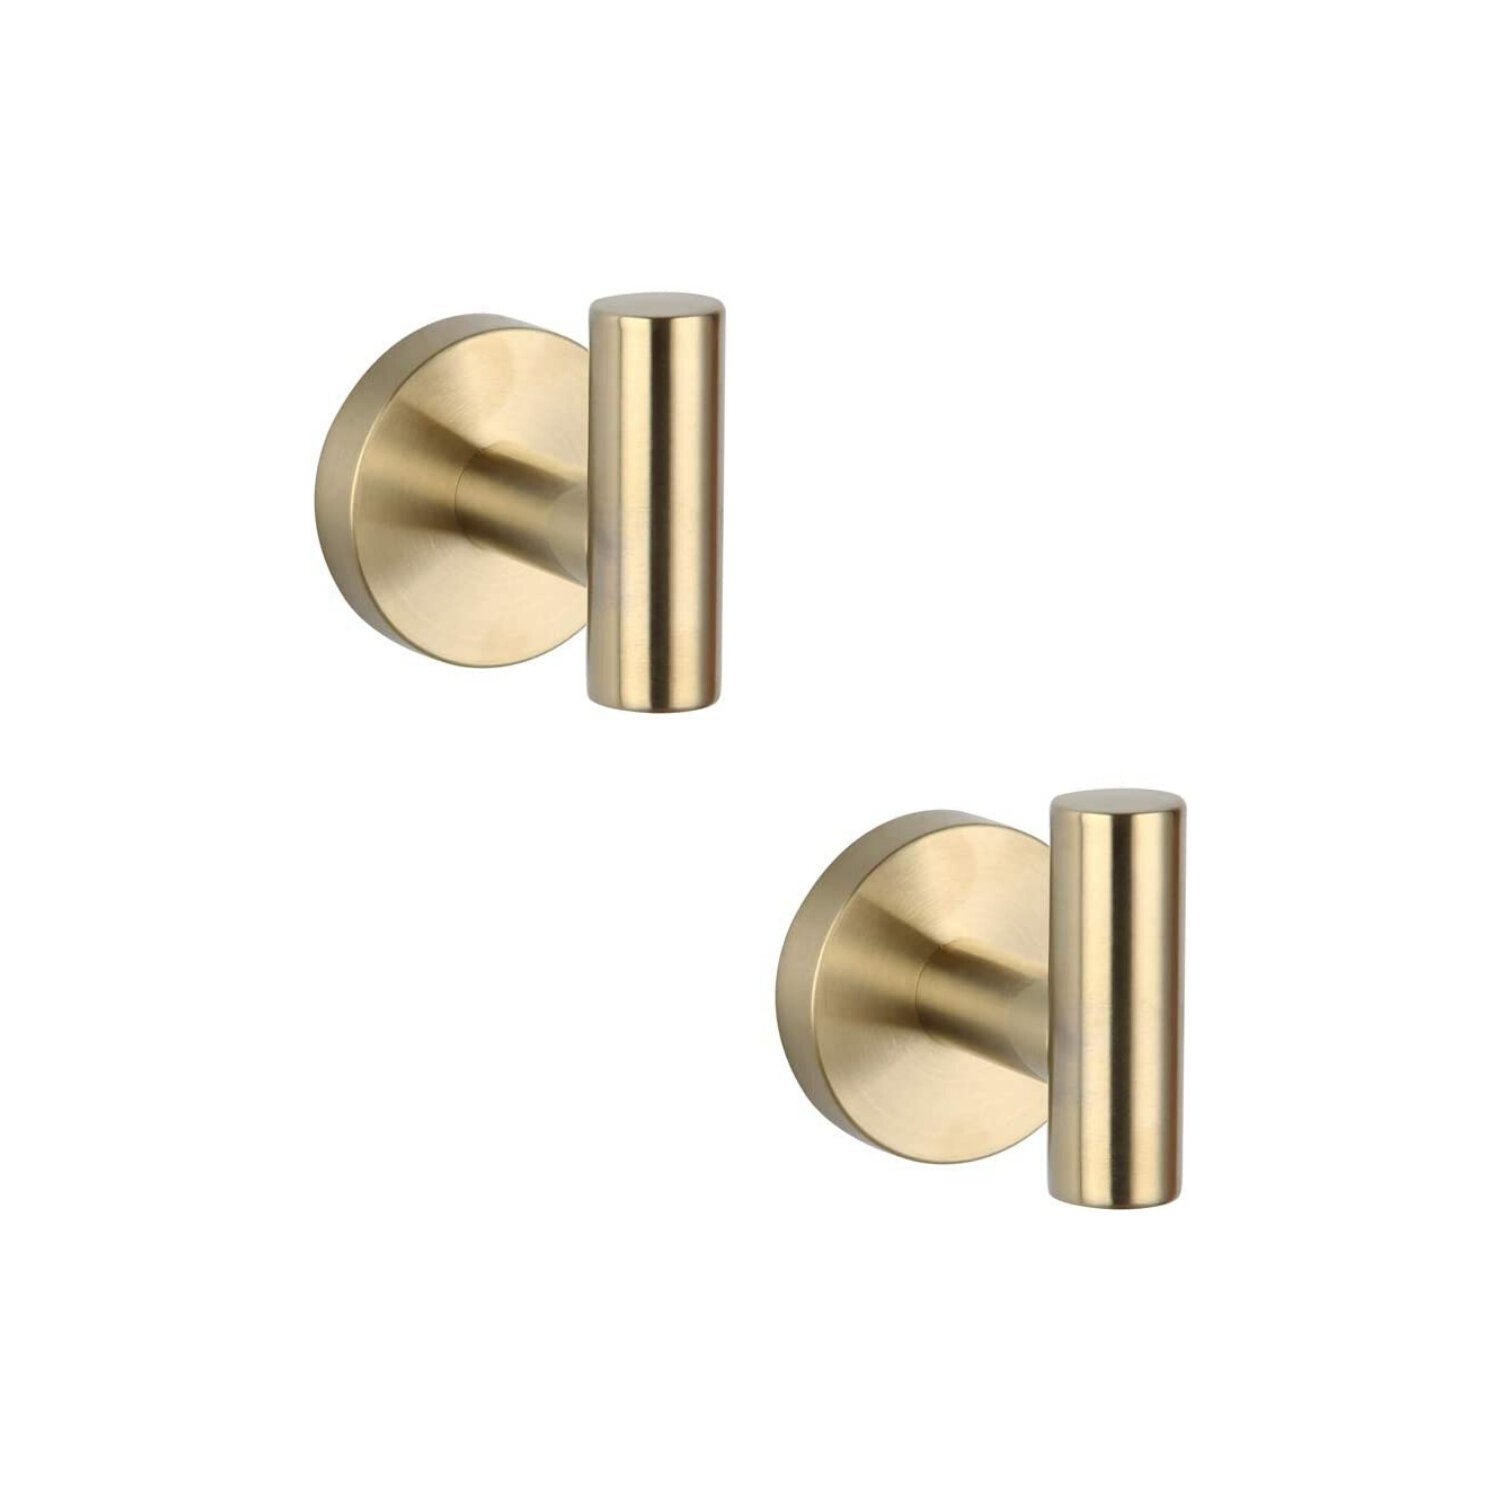
The Cabinets & Open Shelving - Probably the biggest change to the laundry room was the upper cabinets. We lifted them to remove the space between the cabinets and the ceiling, and then we trimmed them out, painted them, and added an open shelving for quick-grab items like detergent and a place to leave lingering socks. We also added gold cabinet hardware.

After lifting the cabinets. We had to leave some space above to be able to screw the cabinets in at the back. But then we added trim to the top.


Testing out the trim.

Paint color from the Magnolia Home collection: Rainy Days
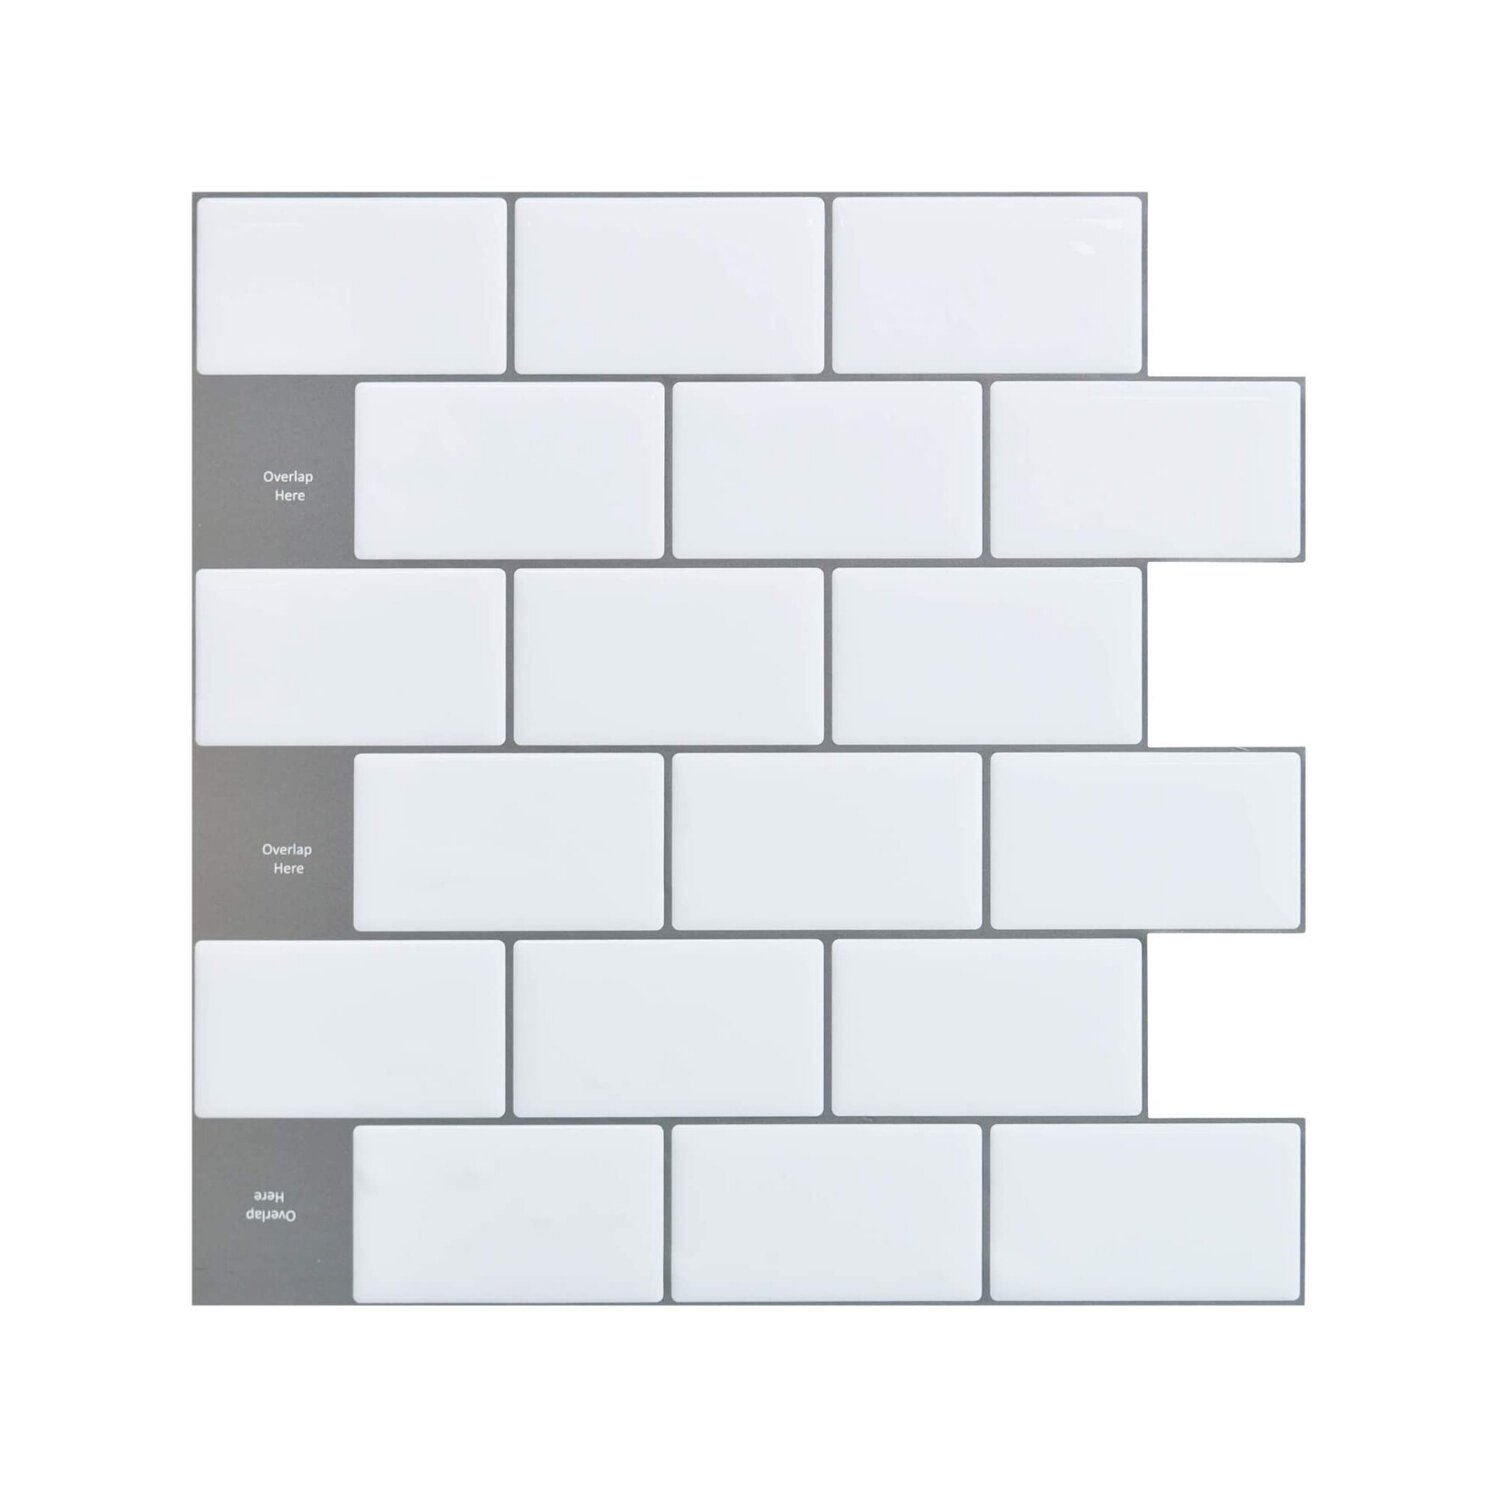
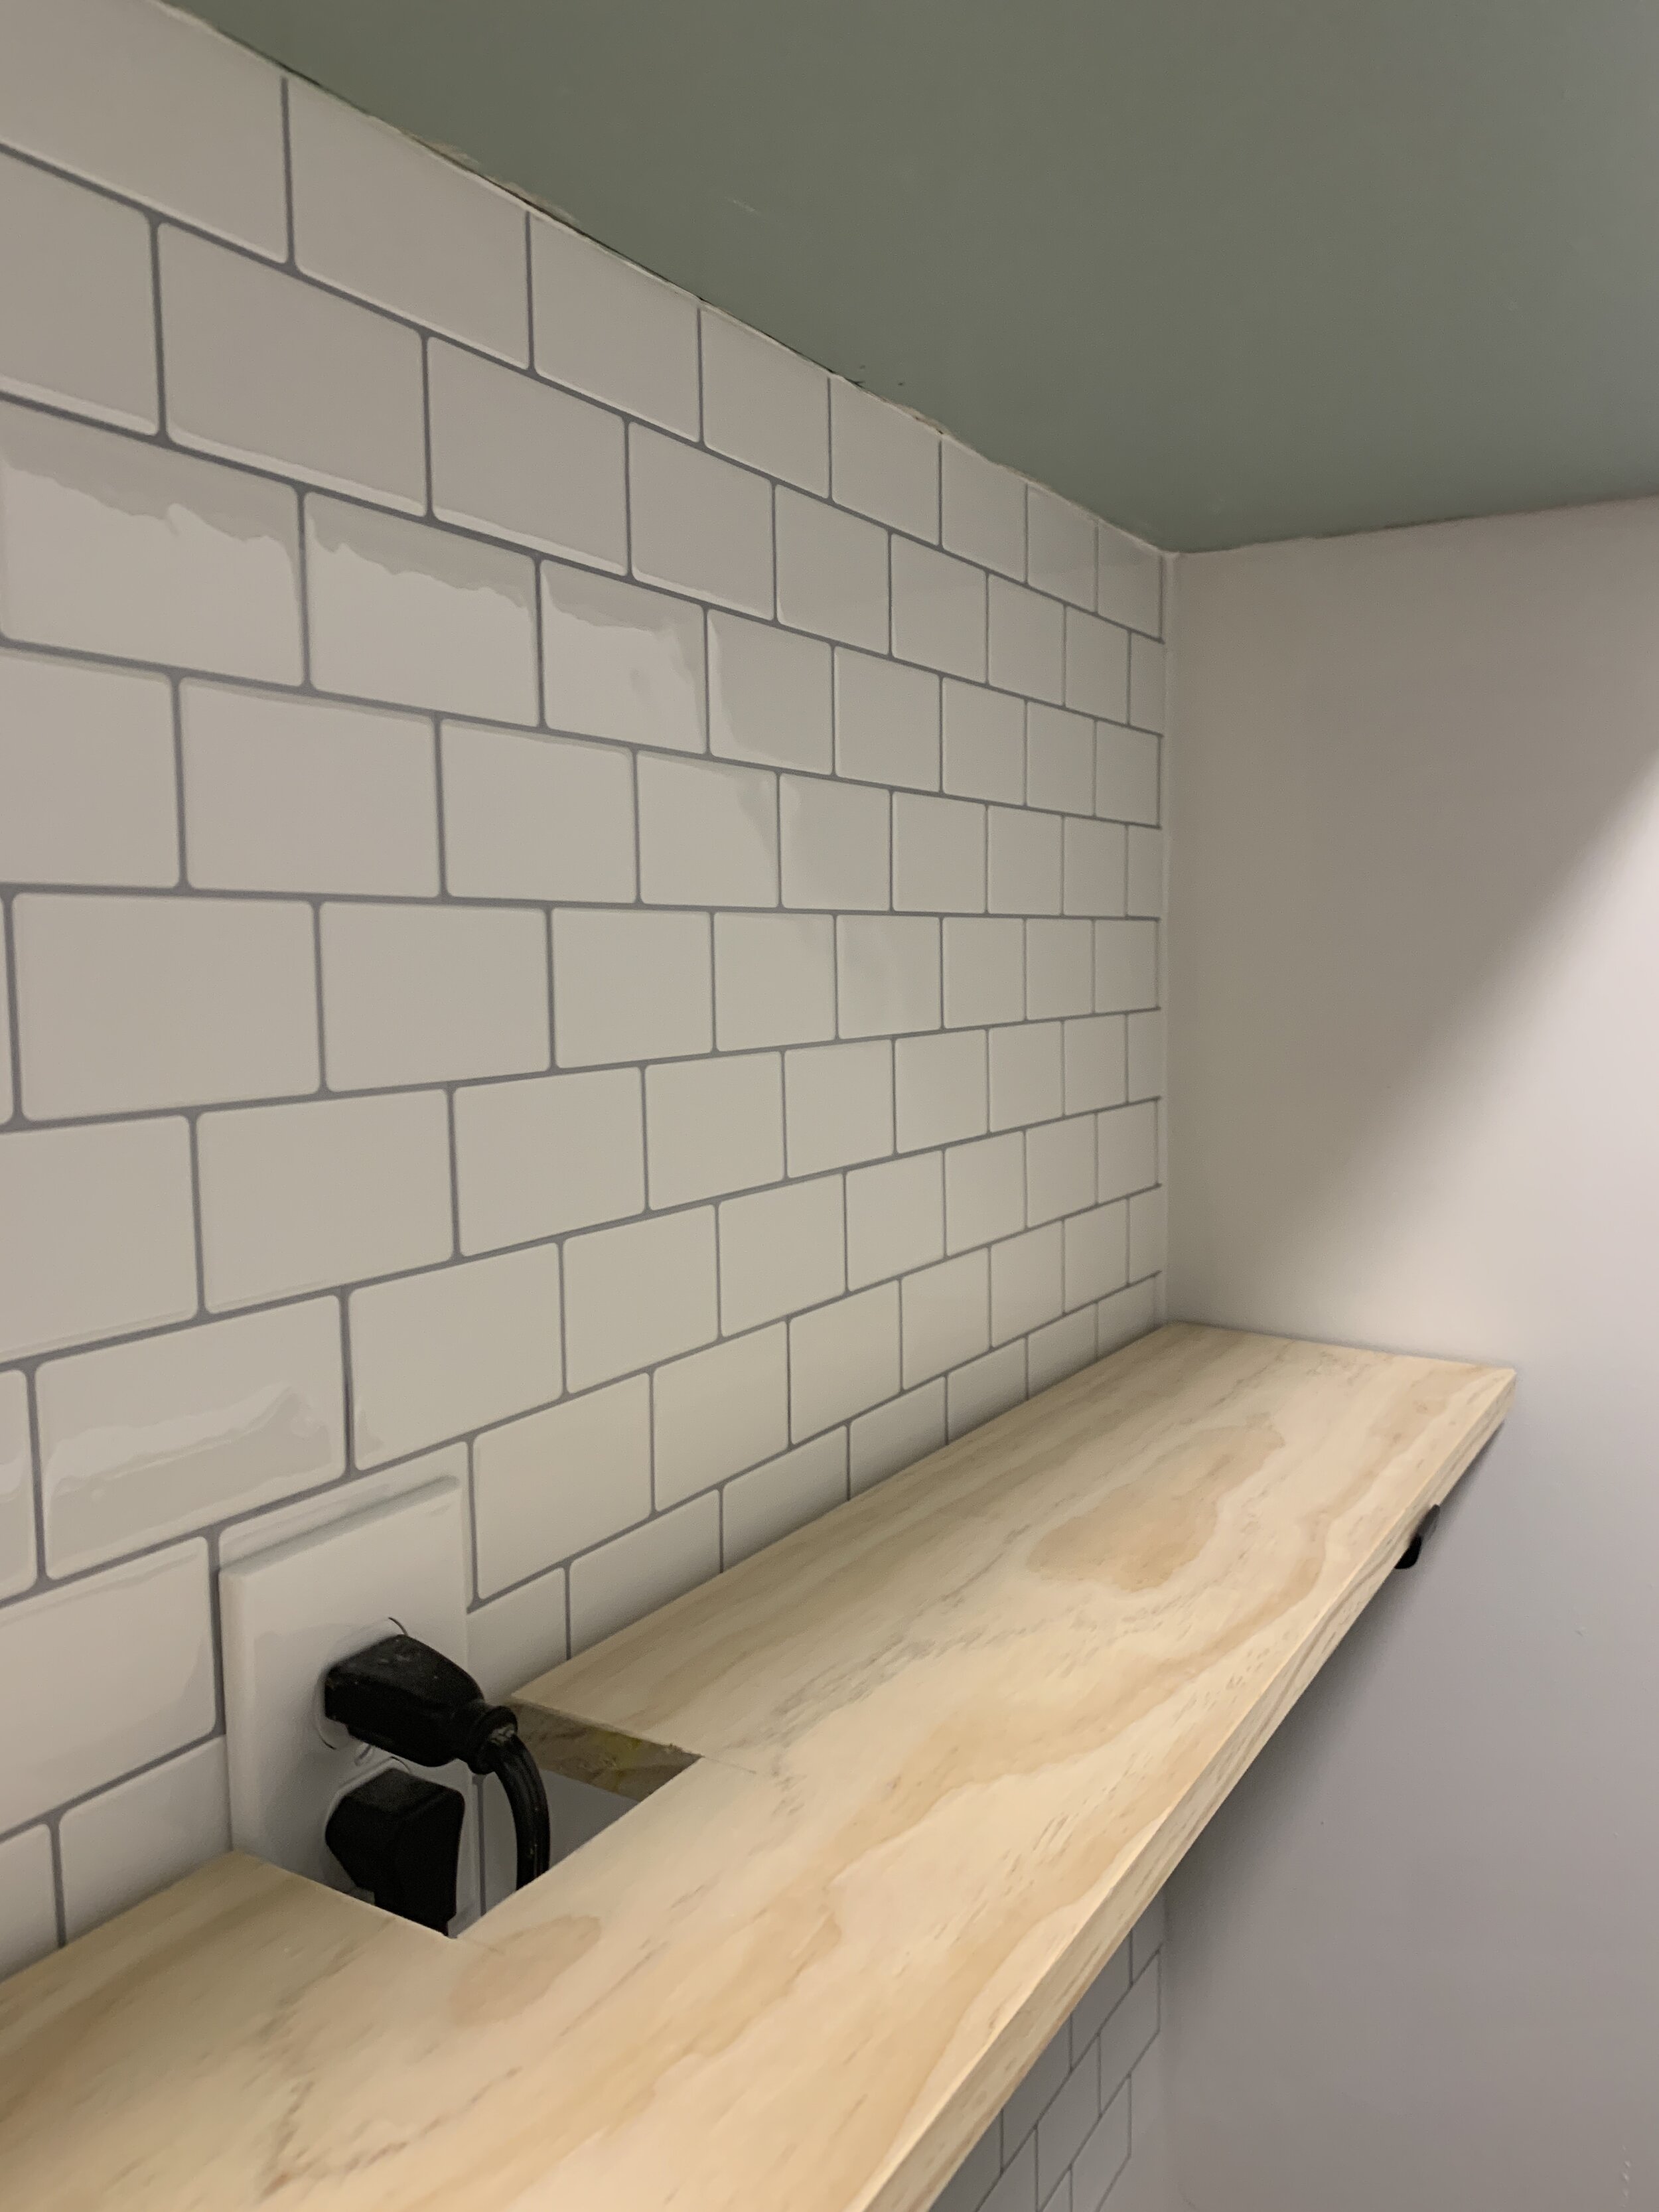
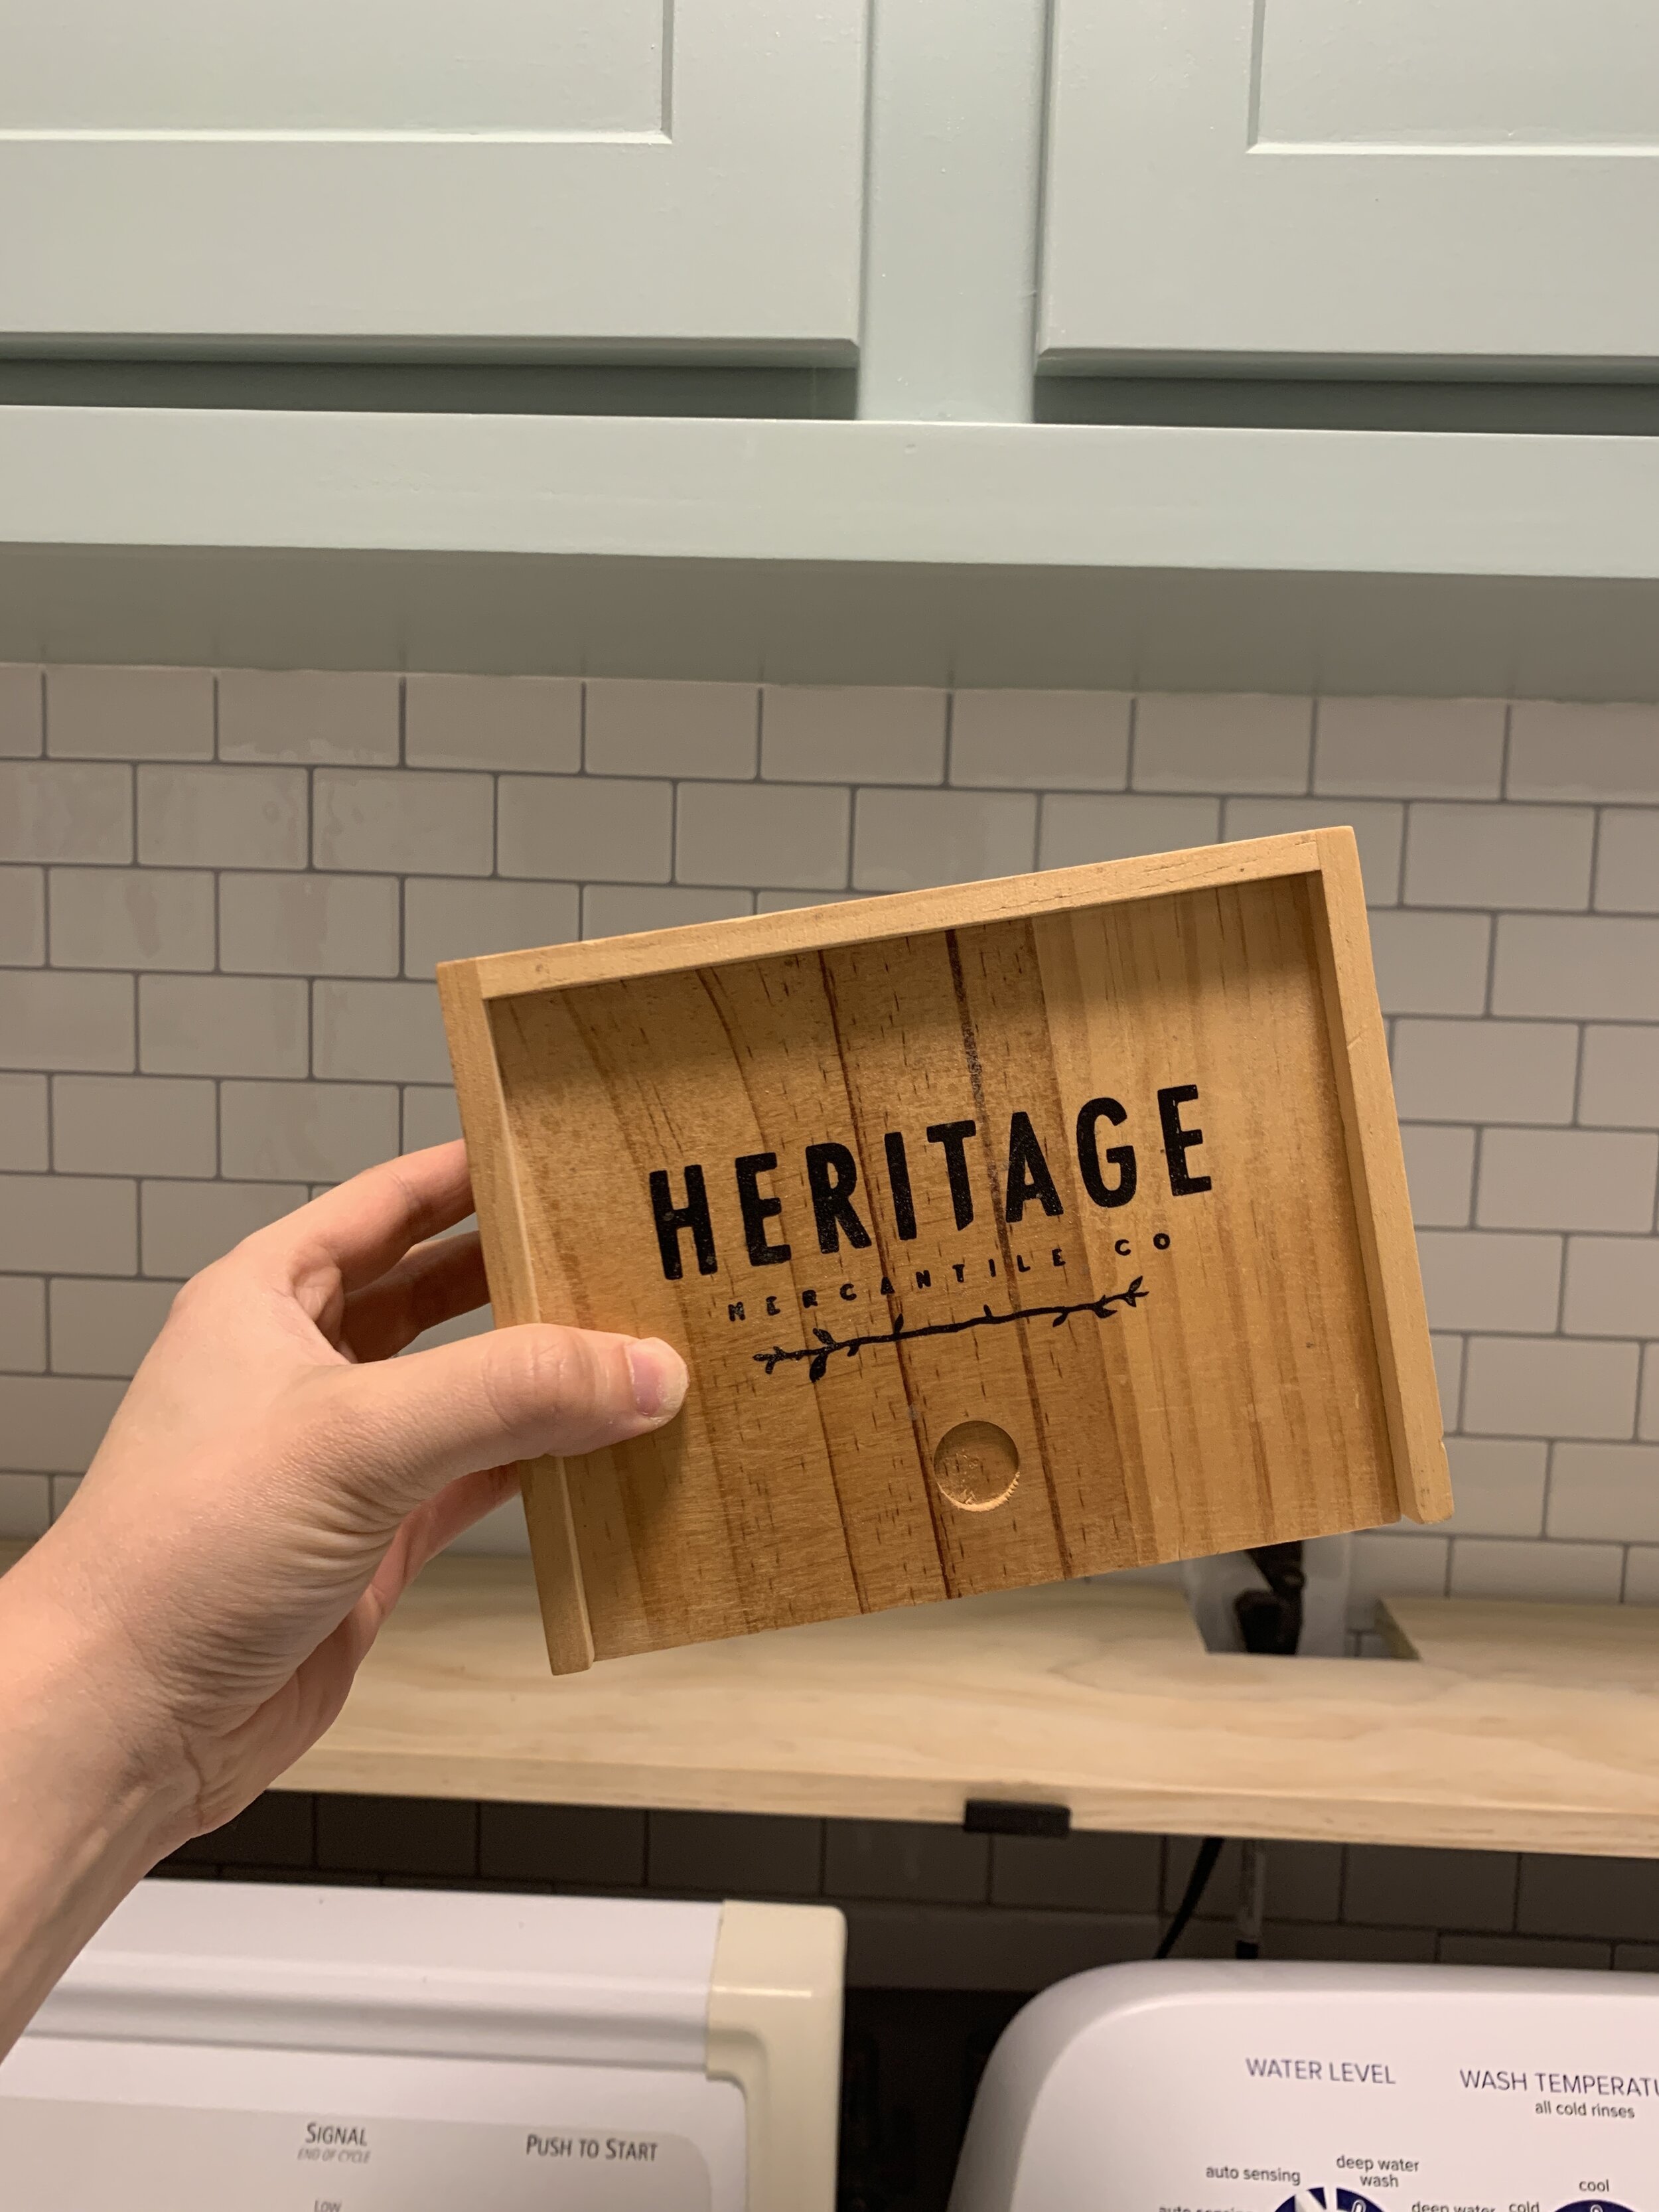
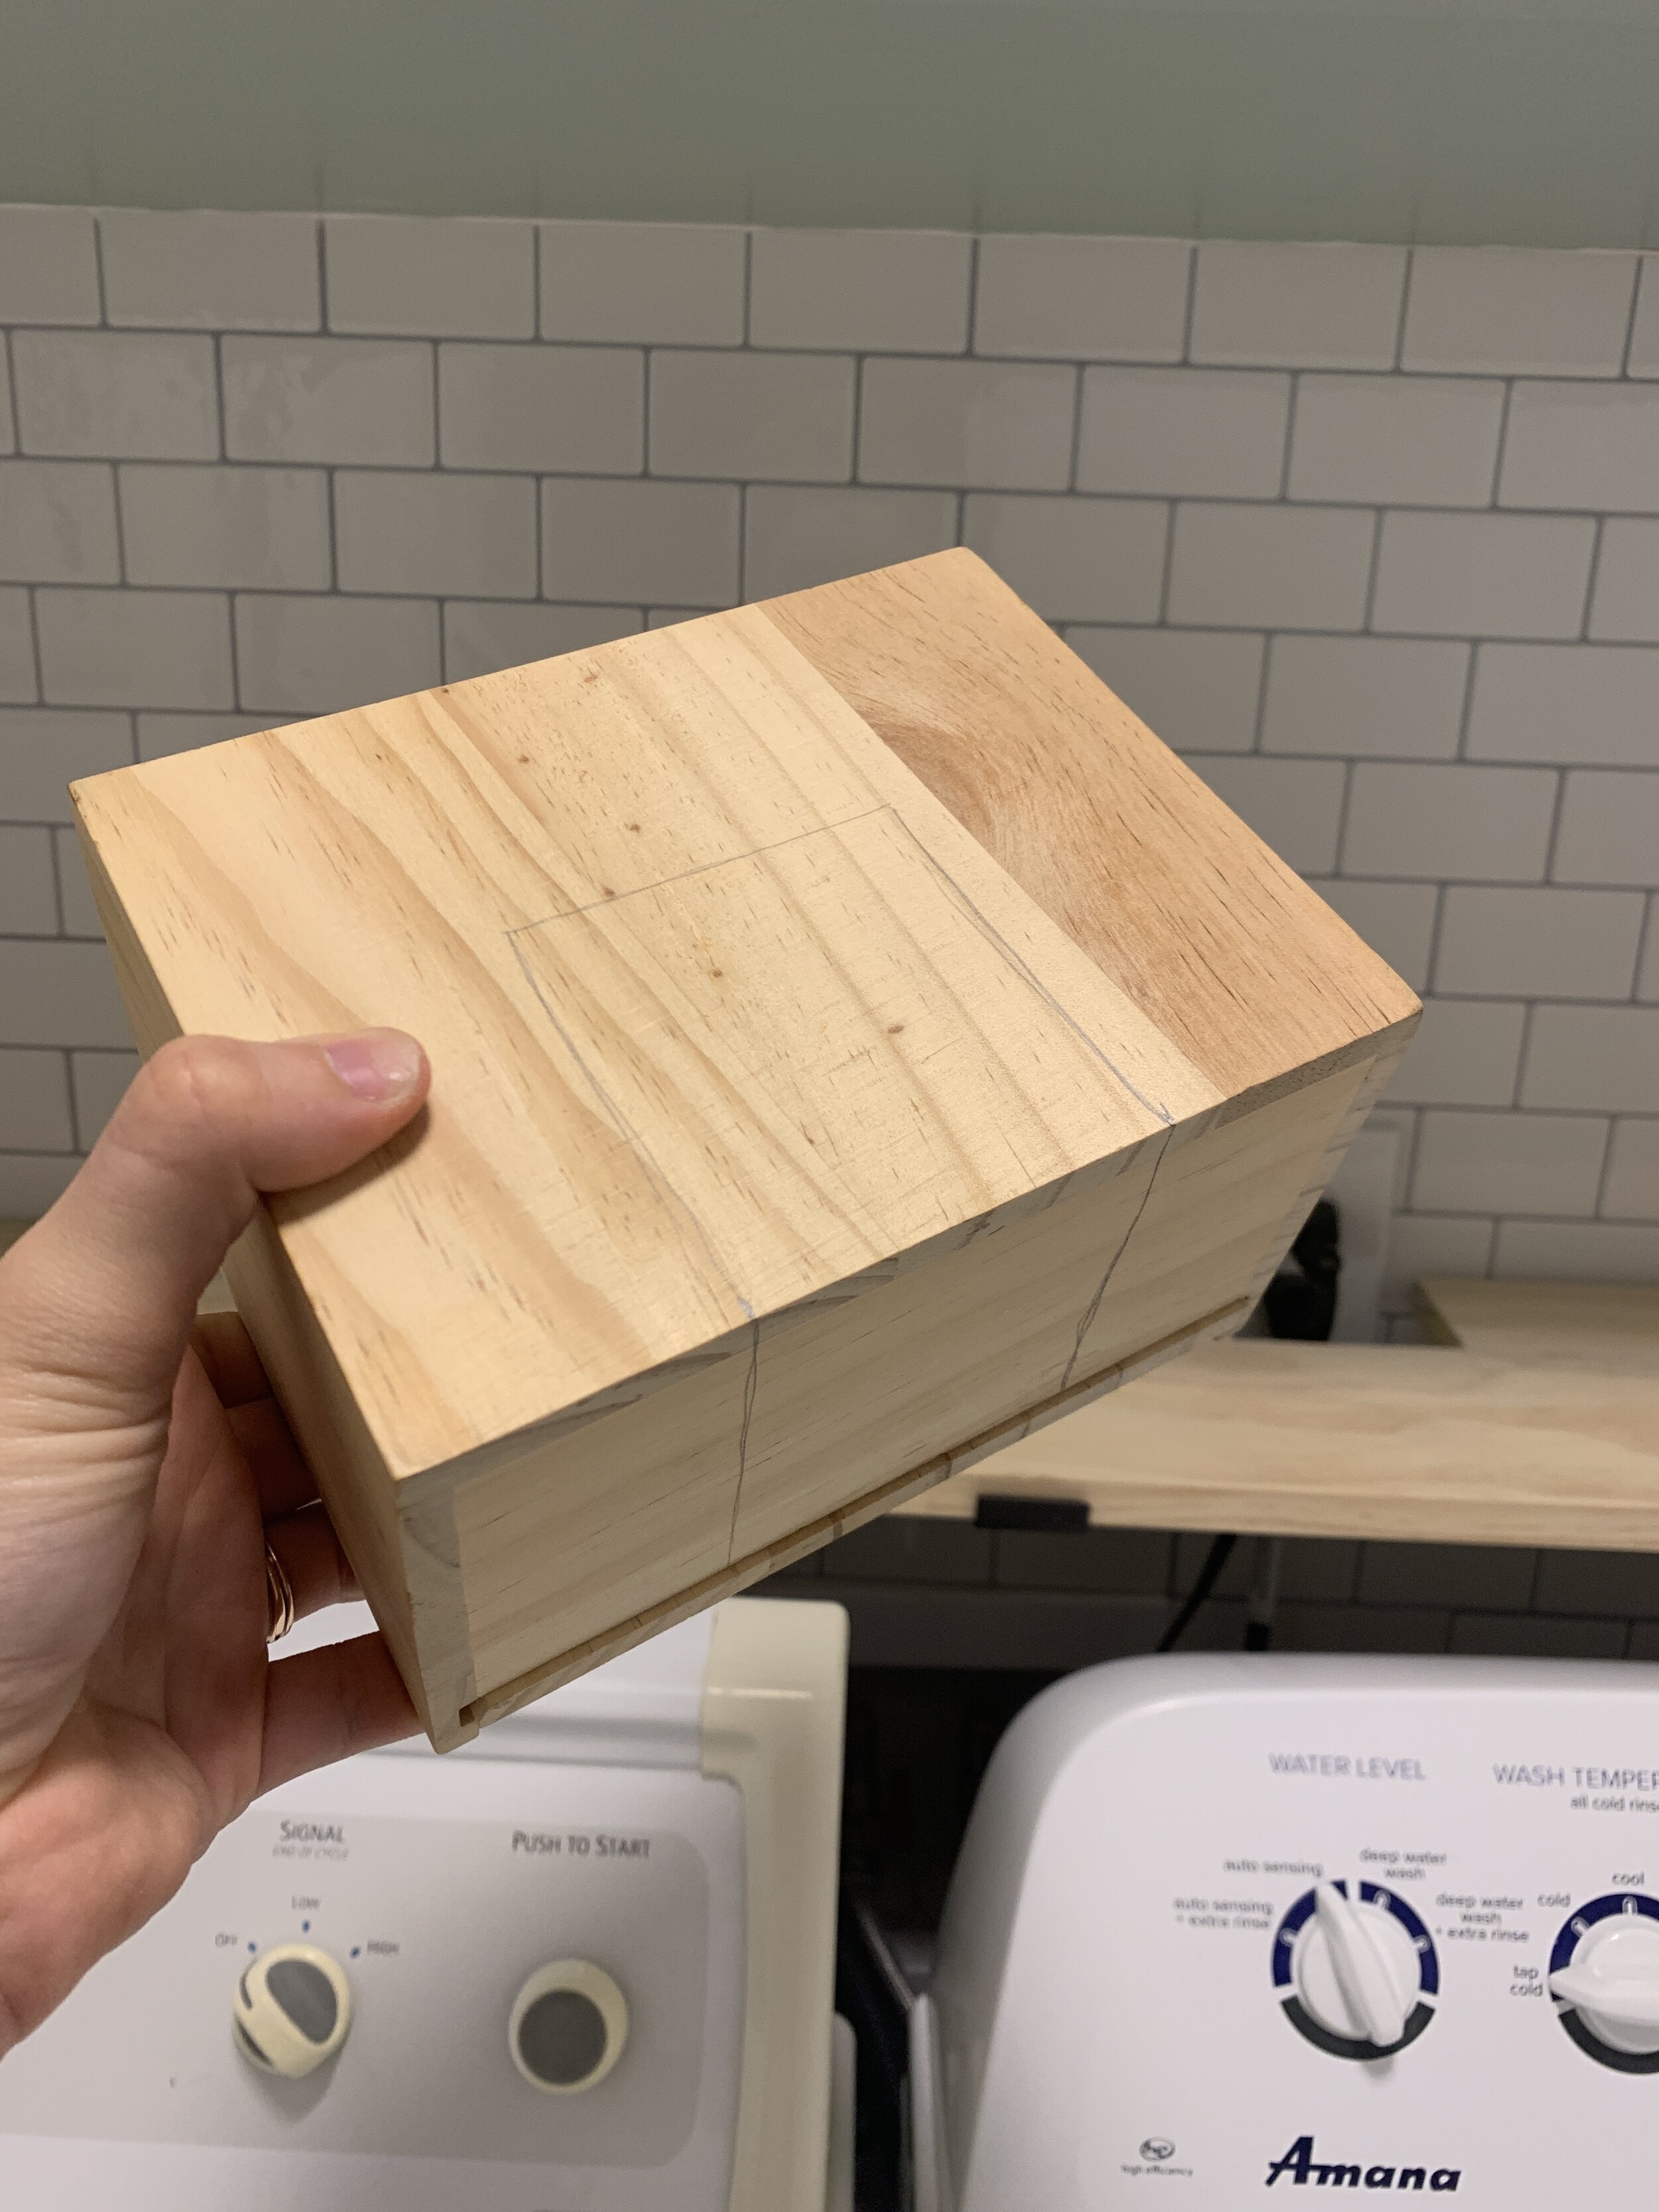
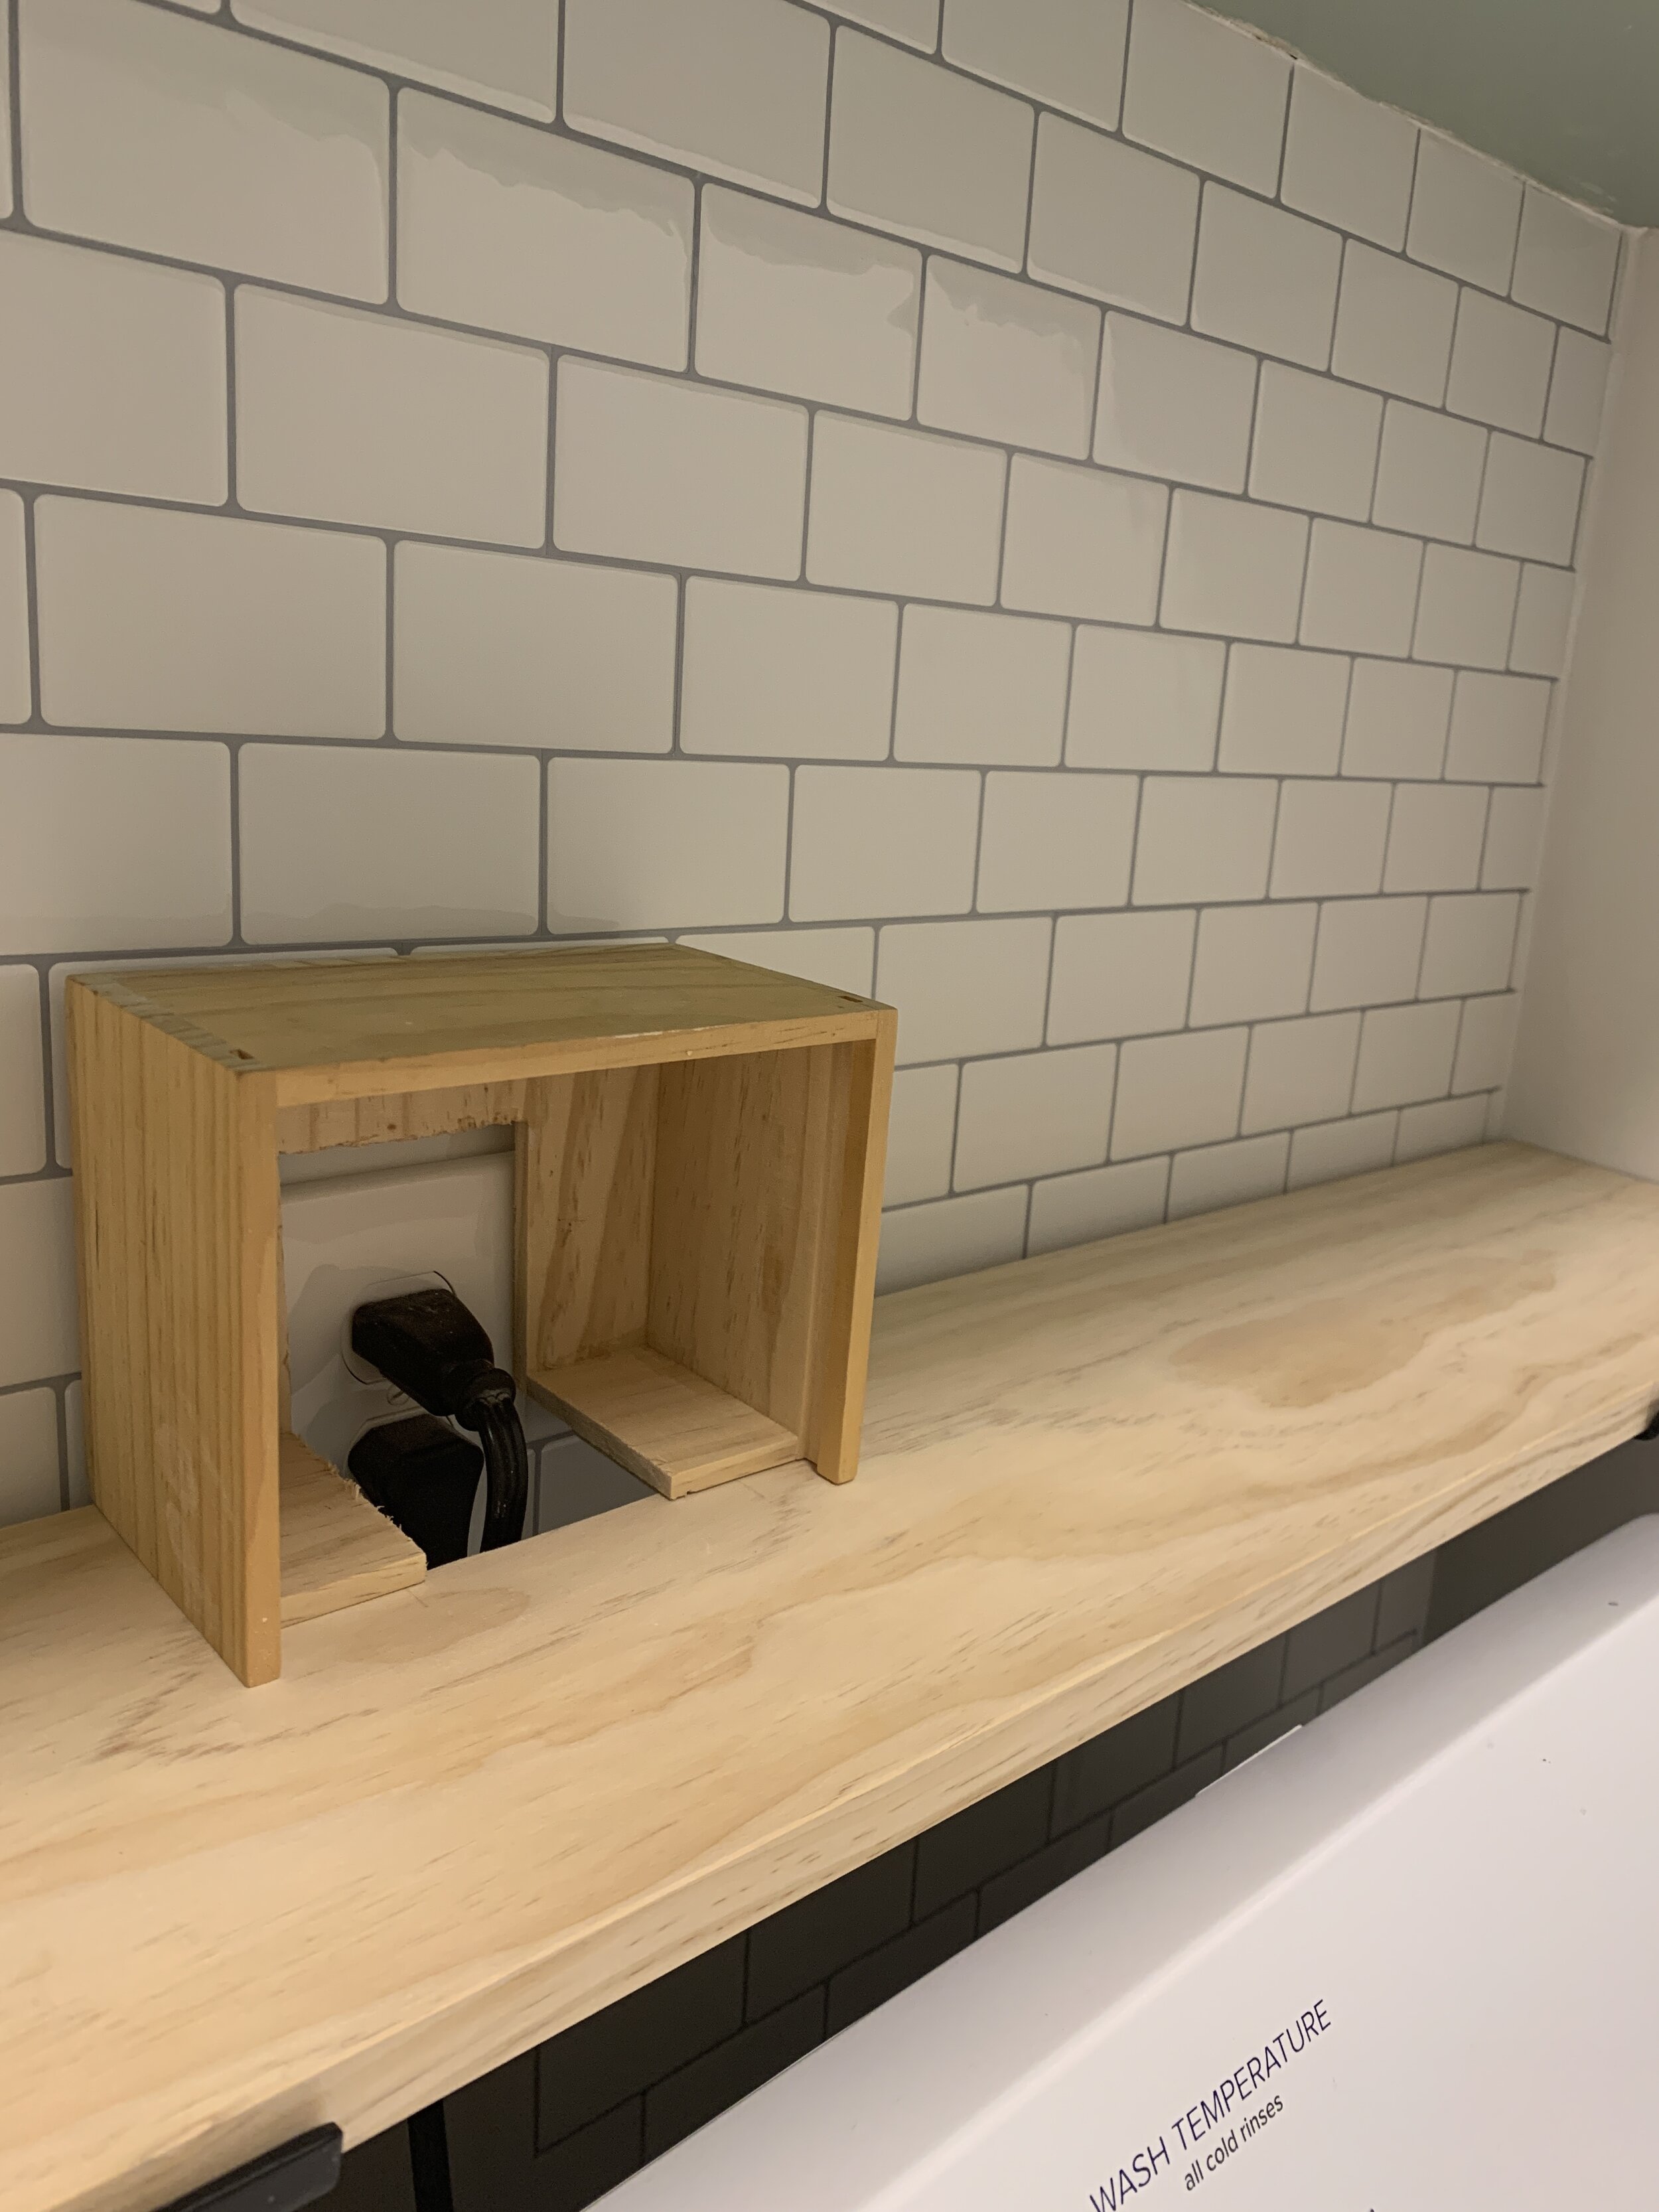
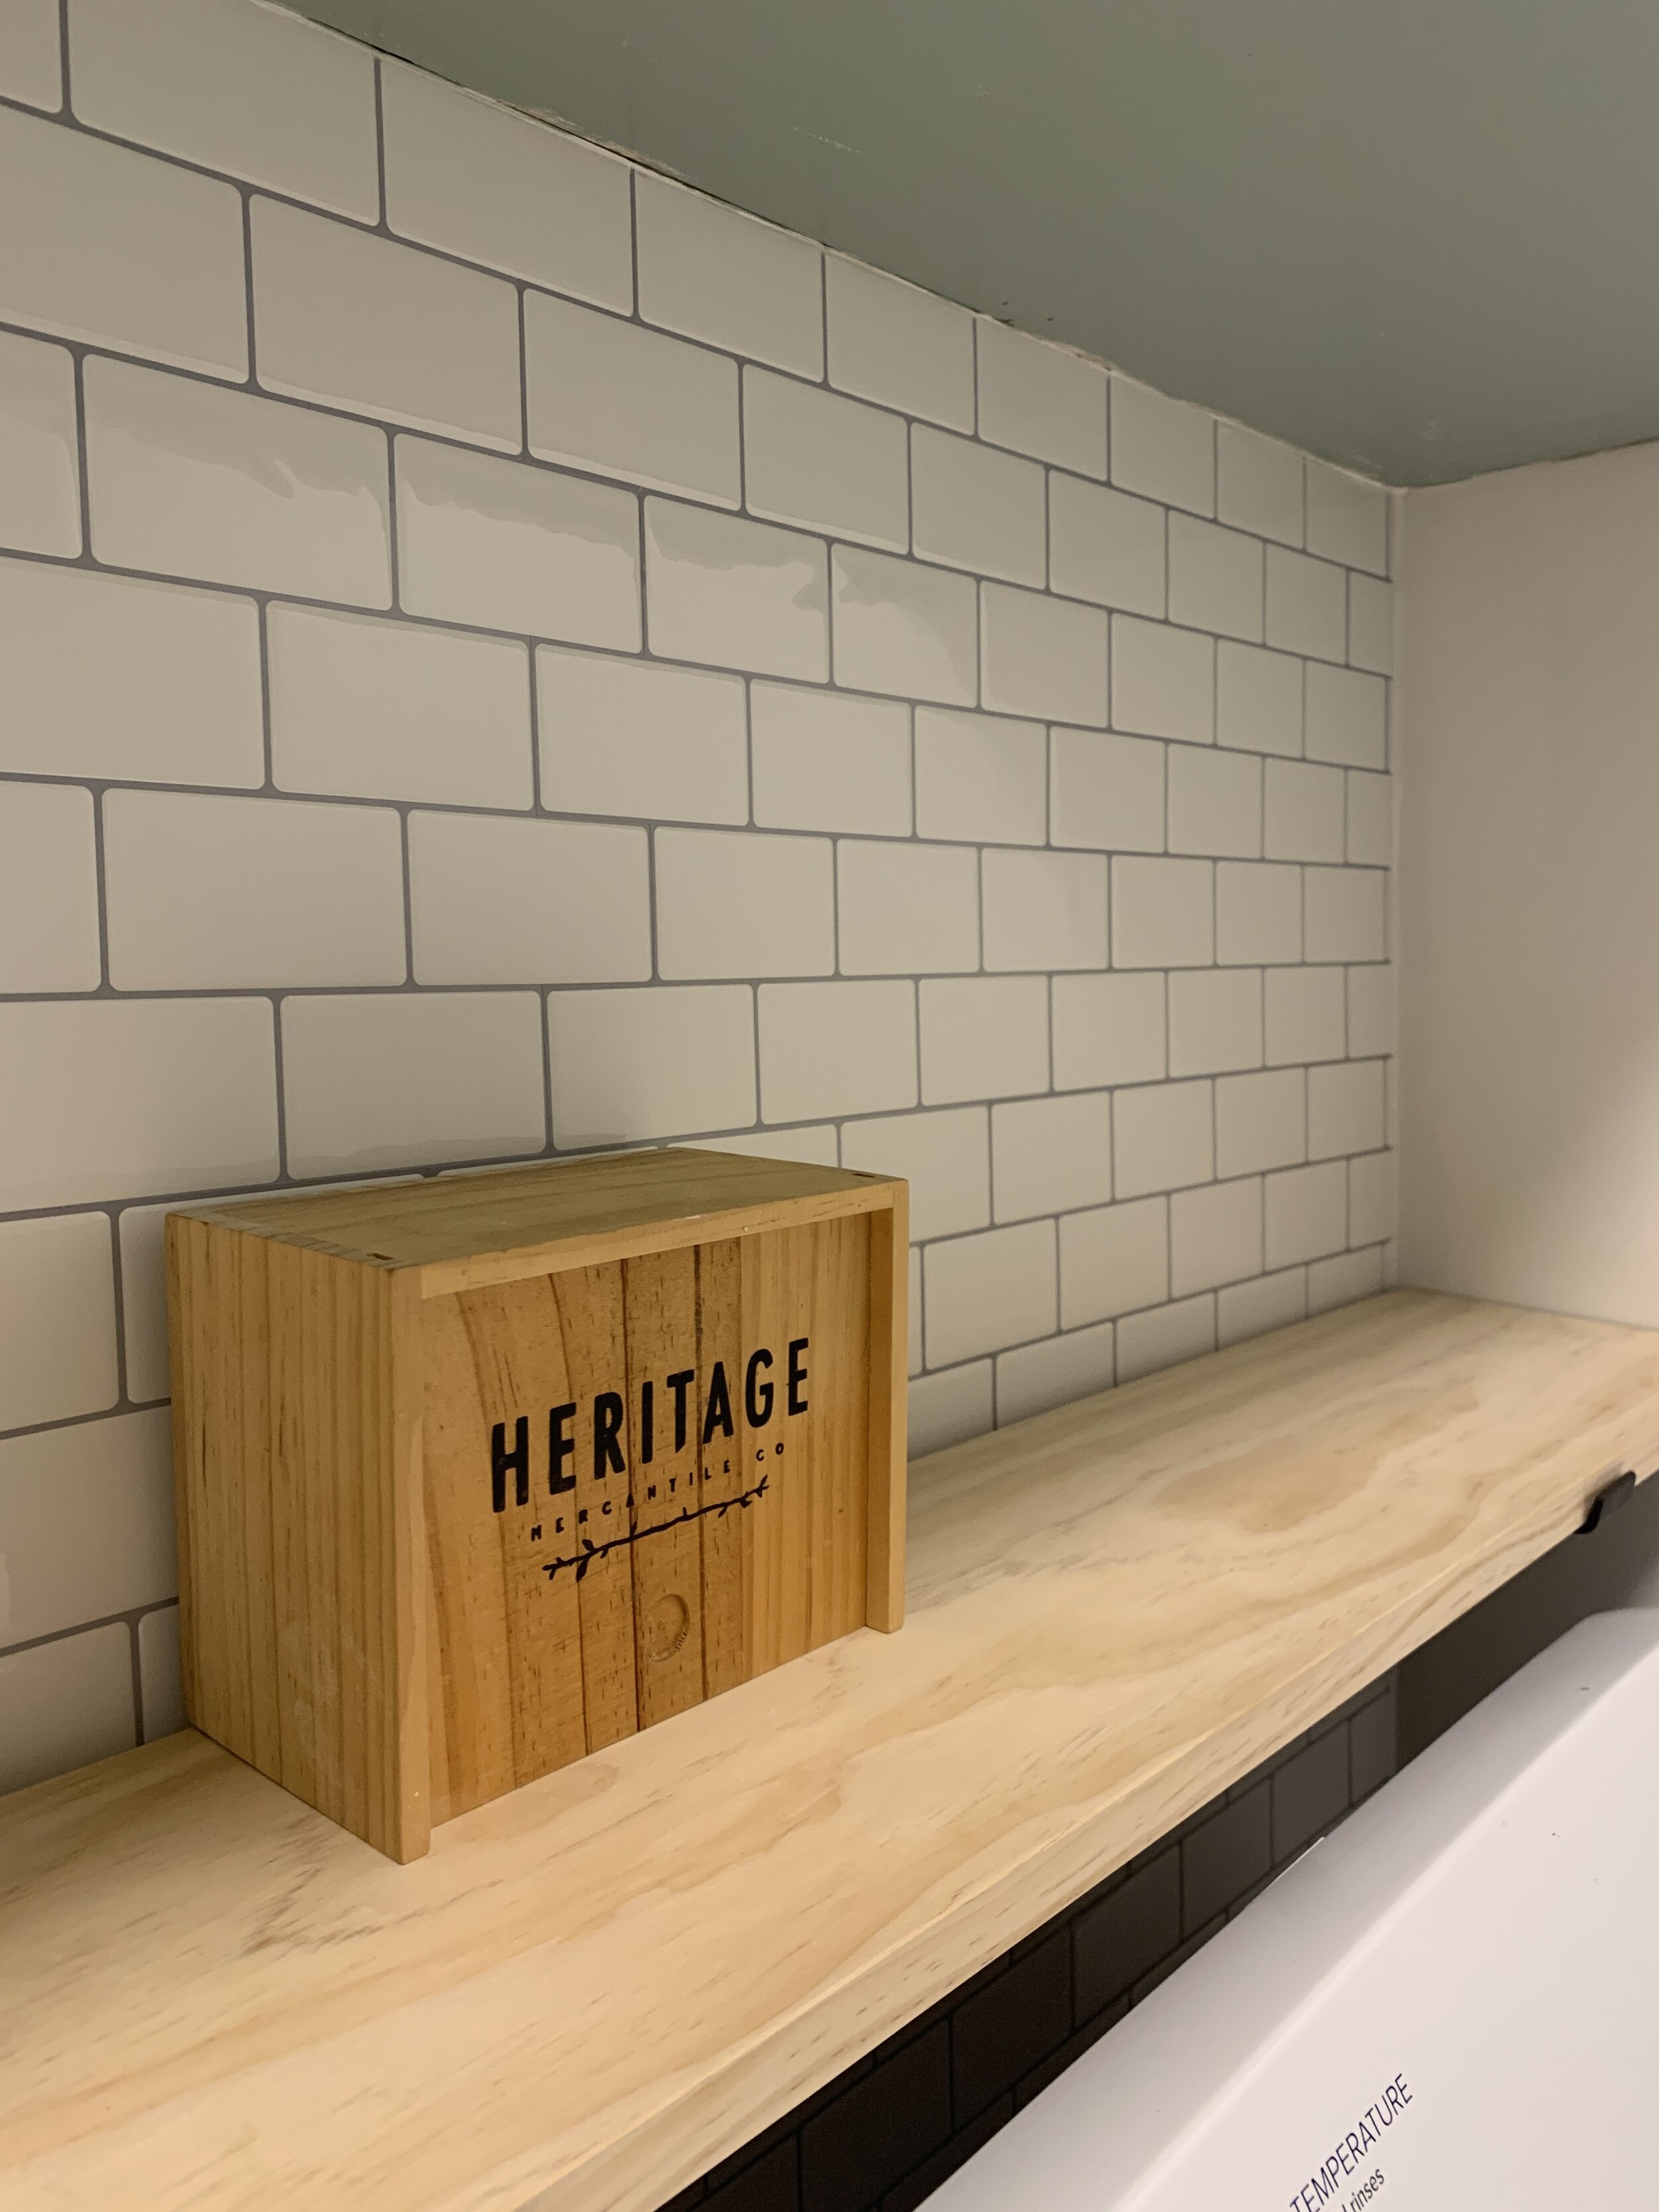
Subway Tile and Hiding The Outlet - We used cheap and easy peel-and-stick tile for the “backsplash” for this project. I knew I wanted to do something, but didn’t want to go through the hassle of actually tiling since it was such a small space that really only we would see. I also used this old wooden box I had gotten as a bridal party gift years ago to cover up my outlets on the wall!
I now officially LOVE and am really proud of my laundry room - except for of course when it’s covered in laundry. Also included in my laundry room is my printable guide I helped my friend Lana of Girl,Teach Me make! It’s a totally comprehensive laundry guide that helps you manage your laundry mess and get a grip on your chaos. I keep it taped inside my cabinet. Click here to shop her Laundry Guide to because, as she says, “We’ll be doing laundry until the Lord comes to take us.”

SHOP THIS PROJECT